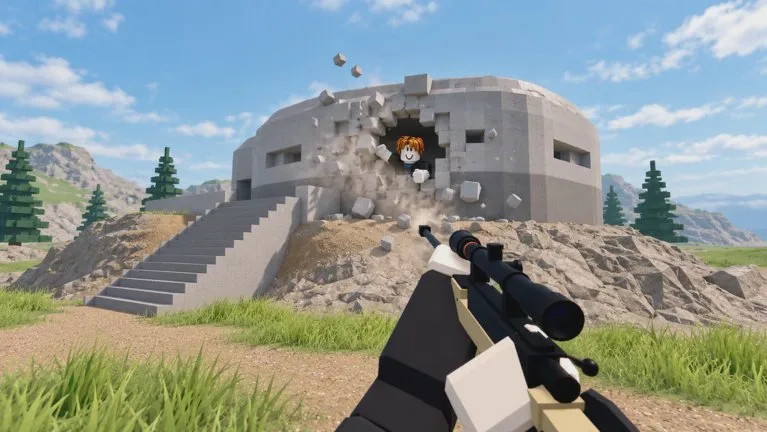
Public mode notes for this place name two rounds. Map names are not in those notes. After every round, players vote on the next map and the next mode, so a defense you learned on one map may be wrong on the next vote.
Spawn Siege
Your team wins by destroying the enemy team's spawn point. The useful push is the one that reaches that spawn, not the one that wins a side duel and resets. Vehicles help break buildings that sit on the way. A turret and steel cover matter when you are stopping the other team from reaching your own spawn.
The notes do not say how much health a spawn point has, whether every block of the spawn must be removed, or whether killing the last defender also ends the round. Treat the spawn structure as the target until the round actually ends.
Point Control
Your team wins by capturing the point on the map and holding it long enough. Taking the point and leaving it is not the win condition described in the notes. The hold time is not published. Steel cover and a turret are the tools the hammer guide gives you for staying on a spot. A jeep or tank gets you to the point faster. Inside the point's buildings, the mode notes say fighting on foot is the better fit.
Vote
When the round ends, use the vote. The button label is not documented. You do not pick the map by yourself. If you only know one map, vote for it. The next round can still be the other mode.
How to tell the modes apart in a fight
If teammates are drilling one enemy structure and ignoring open ground, you are likely in Spawn Siege. If the fight is stuck on one marked spot, you are likely in Point Control. Confirm on the round UI rather than guessing from the kill feed. Exact UI text was not published.